Complete Guide to Wall Clock Mechanism Replacement

Wall clocks are cherished pieces that adorn our homes with charm and functionality. However, even the most reliable clocks can encounter issues over time. If you've noticed your wall clock losing its tick-tock or showing signs of wear, it might be time for a mechanism replacement. In this guide, we'll walk you through the process.
Understanding Wall Clock Mechanisms:
Before diving into the replacement process, it's essential to grasp the basics of wall clock mechanisms. Comprising gears, springs and hands, these intricate systems work harmoniously to keep time. Signs of a failing mechanism include inaccurate timekeeping, unusual noises, sluggish hands or visible damage.
Tools and Materials:
To embark on your wall clock revival journey, gather the following tools and materials:
- Screwdrivers
- Pliers
- Tweezers
- New wall clock mechanism (ensure compatibility)
- Lubricating oil
- Soft cloth or towel
- Work gloves (optional)
Step-by-Step Replacement Guide:
Now, let's dive into the replacement process:
- Prepare Your Workspace: Find a clean, well-lit area to work and protect your clock's face with a soft cloth or towel.
- Remove the Clock Hands: Use tweezers to gently lift off the second hand, followed by the minute and hour hands.
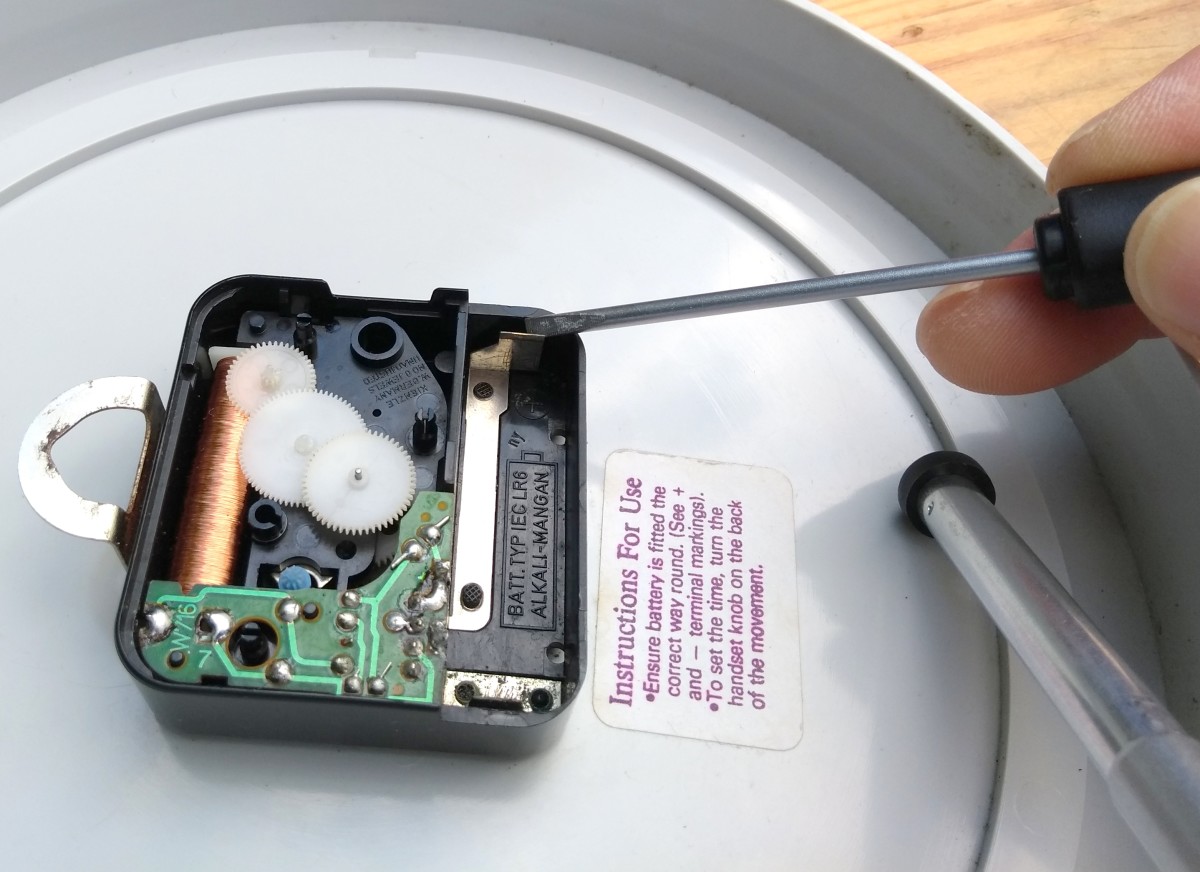
- Unscrew and Remove the Old Mechanism: Loosen and remove the screws securing the old mechanism to the clock's back. Note their positions for reassembly.
- Disconnect the Wires: If battery-powered, disconnect the wires; for corded clocks, unplug from the wall socket.
- Install the New Mechanism: Align the new mechanism with the mounting holes and secure it with screws.
- Reconnect the Wires: Attach the wires to the new mechanism's terminals securely.
- Set the Hands: Position the clock hands onto the spindle, starting with the hour hand, followed by the minute and second hands.
- Test and Adjust: Insert a fresh battery or plug in the power cord. Test the mechanism, adjusting as needed for accurate timekeeping.
- Clean and Polish: Wipe the clock's face clean and apply lubricating oil to moving parts for smooth operation.
- Enjoy Your Restored Wall Clock: Hang your clock back on the wall or place it in its spot and revel in its renewed functionality and beauty.
By following these steps, you can confidently tackle a wall clock mechanism replacement. Whether you're a seasoned DIYer or your first clock repair, this guide equips you with the knowledge and tools needed for success.